Part 4: Understanding Focus, Lighting & Background
In this 4th part of the photography series, I will discuss a few common problems that people often experience with their photographs and provide solutions to overcome these. By Peter Wickham.
Unsharp Images
More than likely the camera was hand-held and the shutter speed insufficient, resulting in camera shake to manifest as a blurred photo. Any movement that occurs while the shutter is open will manifest as a blur. This is not always a bad thing, as sometimes movement in a photo adds to the feeling of speed. It also needs to be understood that the longer the focal length of the lens, the more shake will be evident and the higher that the shutter speed needs to be to nullify the amount of movement.
This is easily understood when one takes two objects of unequal length in the same hand − you will notice that even a small movement of the hand will manifest as a bigger movement in the longer object. This demonstrates the lever principle at work here. If possible, the use of a tripod will stabilise the camera in situations where the shutter speed is too slow.
I encourage the use of a formula to prevent camera shake blur if you are forced to hand-hold your camera – the shutter speed should be equal to, or greater than, the focal length of the lens multiplied by the crop factor of the camera, i.e. if I am using a 100mm lens on a 1.6 crop factor camera, then my shutter speed should be equal to or faster than 1/160 sec.
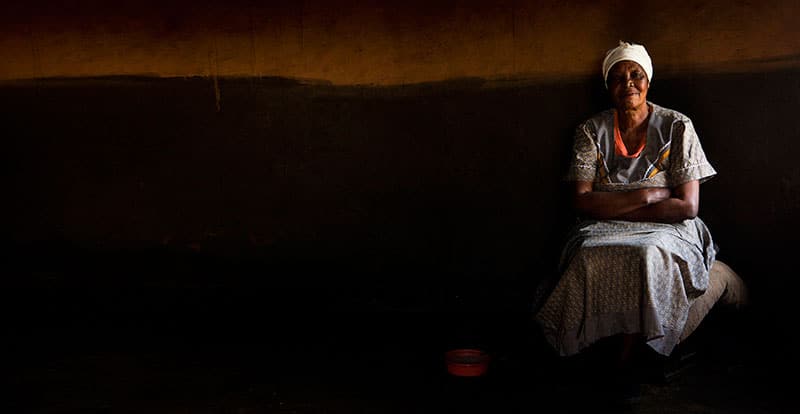
The subject of the photo is a silhouette or too dark to distinguish features whilst the area to the sides and behind are well exposed.
This problem usually occurs when the subject is not illuminated at the same intensity of light as is evident in the background, and the metering mode used is Evaluative or Matrix (the name will depend on the make of camera used).
The metering mentioned is usually default metering when the camera is set to automatic. The solution is rather simple, set the camera to MANUAL, metering to spot or partial, move close to your subject or meter a similar tone to the subject.
Once you have completed the metering process, step back and take the pic. If the technical’s are too much effort, set the camera to “P” mode – move close to the subject so that no background is in the frame – pay attention to the settings visible in the viewfinder, remember them and then change to manual mode and use those same settings.
Image too dark – under-exposed or too light – over-exposed.
More light is required to be captured by the camera, so it requires a slower shutter speed, wider aperture, or higher ISO. The first two will allow more light to enter the camera, whilst the latter will make the sensor more receptive to the light being let into the camera.
The converse will be true for over-exposed images, which are too light and therefore would require a smaller aperture, faster shutter speed or lower ISO.
Backgrounds too busy or distracting
If possible try a different shooting angle to eliminate the problem background. Understand that very often busy backgrounds can be solved by lowering your own angle of shooting. An example of this is ugly tangled vegetation behind the subject – lowering your shooting angle may then replace the background with the sky.
Should this not be possible, try to reduce the depth of field by opening the aperture as wide as possible. Should the offensive background be at sufficient distance from your subject, a shallow depth of field will render it blurred and possibly create beauty to the shot by adding a circular bokeh to the shot (bokeh is a Japanese word for out-of-focus and in international terms refers to circular out-of-focus highlights).
Paying attention to the background is important. As the saying in photographic circles goes: “Look after the background and the image will look after itself.”
Image is sharp in the wrong parts and the subject is blurred
Set a single focus point so that your camera does not get the opportunity of focussing on the incorrect part of what you have framed up. All cameras will only focus on one point, so setting all the focus points on the camera settings will not make the camera focus on many different points, but will allow it to make a choice on what it believes you are taking a picture of. I personally would not like a machine to make this choice for me.

Read more on this series:
- Part 1: Capturing the Golden Hour
- Part 2: Depth Of Field
- Part 3: Exposure


